
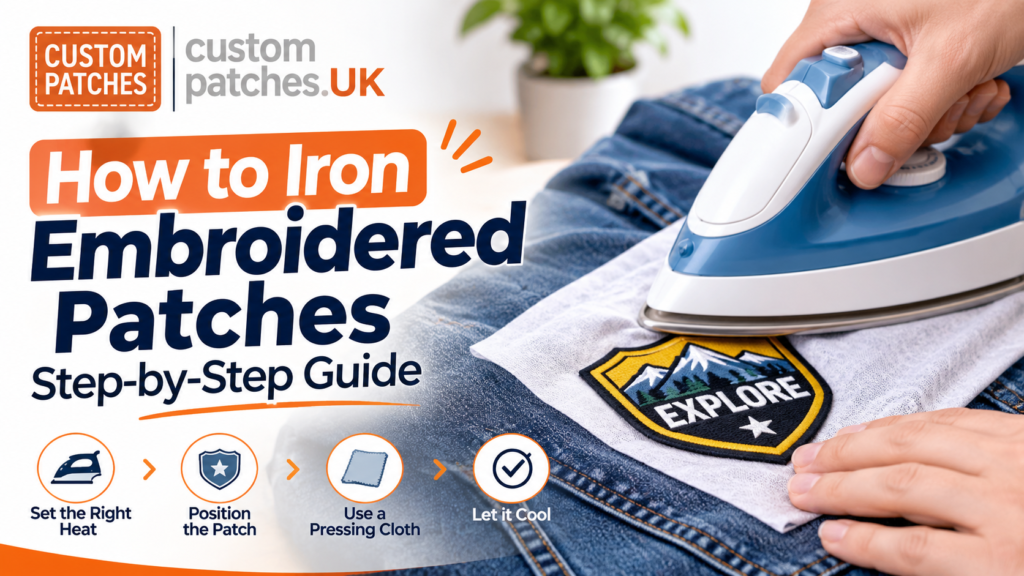
Iron-on embroidered patches are quick to apply, but a few details decide whether they stay put: the right heat, firm pressure and a suitable fabric. This guide walks through the whole process.
Quick answer: Set your iron to its hottest setting with the steam off. Position the patch, cover it with a thin cloth and press straight down firmly for about 35 to 45 seconds without sliding the iron. Turn the garment inside out, press the back of the patch the same way, then let it cool. Times and settings vary slightly between makers, so follow any instructions that came with your patch.
Key takeaways
- Keep the steam off and press down rather than gliding the iron.
- Always put a thin cloth between the iron and the embroidery.
- Press the front and the back of the patch.
- Leather, nylon and waterproof fabrics are better suited to sewing.
What Is an Iron-On Embroidered Patch?
An iron-on patch is a stitched fabric badge with a heat-activated adhesive on the back. Heat and pressure melt the adhesive so it bonds with the fibres of the garment.
A sew-on patch has no adhesive and has to be stitched. If the back of your patch is plain fabric, it is a sew-on patch. You can read more about custom embroidered patches and how they are made.
What You Need
- An iron-on embroidered patch
- A clean, dry garment
- An iron and an ironing board
- A thin cloth, such as a tea towel, handkerchief or pillowcase
- Needle and thread (optional, for securing stubborn edges)
Will Your Fabric Take an Iron-On Patch?
Check the fabric before you heat anything. The garment has to cope with a hot iron, and the adhesive has to bond to it.
| Fabric | Iron-on suitability | Why |
|---|---|---|
| Cotton and denim | Usually suitable | Handles high heat well |
| Cotton-polyester blends | Usually suitable | Check the care label first |
| Nylon | Avoid | Heat can melt or warp the fabric |
| Leather | Avoid | The adhesive bonds poorly and heat can cause damage |
| Waterproof or coated fabrics | Avoid | The coating can stop the adhesive bonding |
If your garment is in the “avoid” group, or the care label says it cannot take a very hot iron, sew the patch on instead. Our comparison of iron-on vs sew-on patches helps you decide.
How to Iron on an Embroidered Patch
Take care throughout: the iron, cloth and patch all get very hot.
- Prepare the garment. Lay it flat and smooth out any creases. Avoid placing the patch over thick seams, zips or buttons, as they make the pressure uneven.
- Position the patch. Place it adhesive side down and check that it is straight. If a protective sheet covers the adhesive, peel it off first.
- Heat the iron. Set it to its hottest setting with the steam off, and let it heat fully.
- Add the pressing cloth. Lay the thin cloth over the patch so the iron never touches the embroidery directly.
- Press firmly. Push straight down with steady pressure for about 35 to 45 seconds. Do not move the iron back and forth, as this can shift the patch and cause uneven bonding.
- Turn the garment inside out. Cover the back of the patch with the cloth and press again in the same way.
- Let it cool. Leave the patch to cool, then check every edge. If a corner lifts, press that area again.
Instructions differ a little between suppliers. Some recommend a slightly lower setting, such as medium-high, so follow the guidance supplied with your patch if it says something different.
Common Mistakes to Avoid
- Using steam. It can interfere with the adhesive.
- Skipping the cloth. Direct contact can scorch the embroidery or the fabric.
- Sliding the iron. The patch can shift, and the bond ends up uneven.
- Stopping too early. The adhesive needs enough heat and time to bond fully.
- Ignoring the fabric. Heat-sensitive materials are the most common cause of failed or damaged patches.
What to Do if the Patch Won’t Stay On
Edges lifting. Press the area again with the cloth, on both the front and the back. If the edge keeps lifting, a few small hand stitches around it will hold it for good.
Not sticking at all. Check that the steam was off, that you pressed for long enough with firm pressure, and that the fabric suits an iron-on patch. Also confirm the patch really has an adhesive backing. If the fabric is the problem, sewing is the reliable fix.
Washing and Care
Leave the patch for at least 24 hours before its first wash so the adhesive can fully set. Repeated heat can weaken the bond, so turn the garment inside out, wash it cold and air-dry it where possible. Avoid ironing directly over the patch afterwards.
FAQs
How long should you iron on an embroidered patch?
About 35 to 45 seconds per side is a common instruction from UK retailers. Some makers specify slightly different times, so check the guidance that came with your patch.
What temperature should I use, and can I use steam?
Use the hottest setting with the steam off, unless the care label or the patch instructions say otherwise. Some suppliers recommend medium-high. Steam should always be switched off.
Can I iron on a patch without a pressing cloth?
It is not recommended. A thin cloth protects the embroidery and the fabric from direct heat. A clean tea towel or handkerchief works well.
Do I need to sew an iron-on patch as well?
Not always. Stitching around the edge adds security on items you wash often, or if the edges start to lift.
Why won’t my iron-on patch stick?
The usual causes are too little heat, pressure or time, steam interfering, or a fabric that does not suit iron-on adhesive. Sewing is the best fix for unsuitable fabrics.
Final Thoughts
Ironing on a patch comes down to heat, pressure and time, with a cloth to protect the embroidery. Check the fabric first, and sew instead if it cannot take the heat.
If you are ordering custom patches and want an iron-on backing, you can state your preferred backing when you request a quote.