
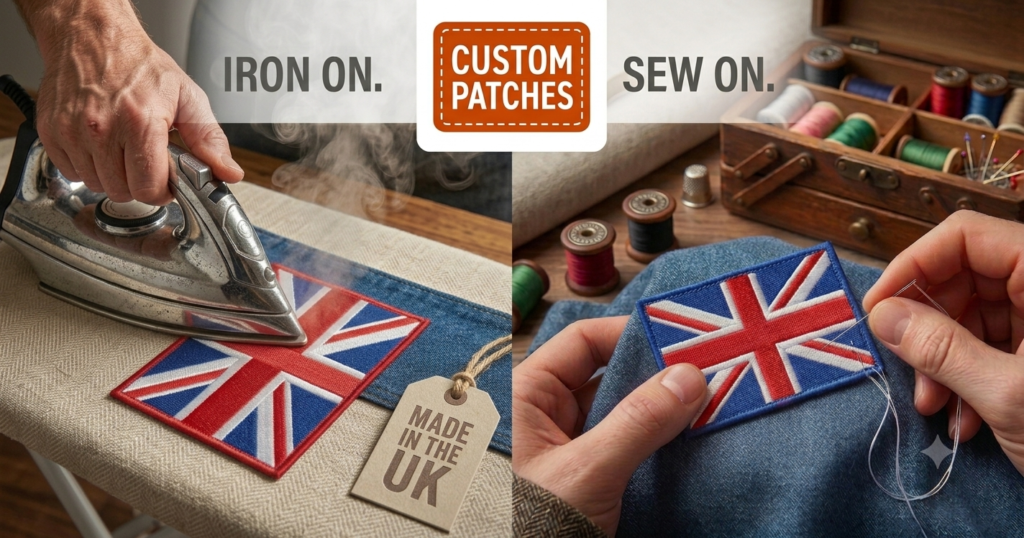
Quick answer
If you need something up in the next ten minutes, go iron-on. If you need something that survives a decade of washes, wear, and the occasional tumble dryer disaster, go sew-on. Everything else in this article is really just the fine print on that one sentence.
Table of contents
- The honest answer nobody gives you
- What iron-on patches actually are
- What sew-on patches actually are
- Side-by-side comparison
- How long does each one really last?
- Which fabrics work with which backing
- Best choice by use case
- Can you switch one to the other?
- Mistakes people make
- Our verdict
- FAQs
The honest answer nobody gives you
Most patch sites won’t tell you this, because it doesn’t sell you anything: neither option is “better.” They’re built for different jobs, and choosing the wrong one is the single most common reason a patch ends up peeling off in the wash, six weeks after you got it.
Iron-on patches are built for speed. Sew-on patches are built to outlast the jacket they’re attached to. Once you know which one your project actually needs, the decision takes about thirty seconds.
What iron-on patches actually are 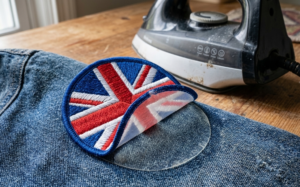
An iron-on patch has a layer of heat-activated adhesive fused to the back — usually a thin film that stays solid at room temperature and melts into the weave of your fabric under heat and pressure. Press it with a hot iron (or a heat press, if you’re doing more than a couple) for the right amount of time, and the adhesive bonds directly into the fibres underneath.
No needle. No thread. No skill required beyond “don’t burn yourself.”
That convenience comes with a trade-off, though. The bond is only as strong as the fabric it’s stuck to, and it can weaken with repeated heat cycles — every wash, every tumble dry, every time you iron something else nearby.
What sew-on patches actually are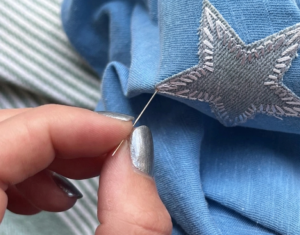
A sew-on patch is exactly what it sounds like: a patch with no backing at all, stitched directly onto the garment using a needle and thread, either by hand or on a machine.
There’s no adhesive to break down over time. The thread holds it, full stop. This is why you’ll see sew-on patches on things that genuinely need to survive years of hard use — military uniforms, workwear, motorcycle vests, scout jumpers that get passed down between siblings.
The catch is obvious: you (or someone) needs to actually sew it. That takes longer, and it takes at least a basic level of sewing ability if you’re doing it by hand.
Side-by-side comparison
| Iron-On | Sew-On | |
|---|---|---|
| Application time | 30–60 seconds per patch | 10–20 minutes per patch (hand-sewn) |
| Skill needed | None | Basic sewing |
| Tools needed | Household iron or heat press | Needle, thread (or machine) |
| Durability | Good, weakens over time | Excellent, doesn’t degrade |
| Best fabric match | Cotton, denim, polyester blends | Almost anything, including leather |
| Removable? | With effort, and leaves residue | Only by unpicking stitches |
| Typical cost | Slightly cheaper to produce | Slightly more (extra labour) |
How long does each one really last?
This is the bit everyone actually wants to know, so here it is straight.
Most manufacturers rate iron-on adhesive to survive somewhere around 20 to 30 machine washes before it starts to lift at the edges, which for a garment washed weekly works out to roughly two to five years of normal wear. That’s not a guess — it’s the standard figure most UK patch makers, including us, quote for iron-on backing, and it lines up with what you’ll find if you ask around embroidery forums.
Sew-on patches don’t really have a wash-count ceiling. The thread is the weak point, not an adhesive layer, and good polyester thread will typically outlast the garment itself. If a sew-on patch ever comes loose, it’s almost always because a stitch snapped or wasn’t finished properly — not because the backing “wore out.”
The practical difference: if you’re patching a jacket you’ll wear for one season, iron-on is more than enough. If you’re patching something you want to hand down, sew-on is the only sensible choice.
Which fabrics work with which backing
This is where a lot of people go wrong, because the fabric matters just as much as the backing itself.
Good for iron-on:
- Cotton
- Denim
- Cotton-poly blends
- Canvas
Poor for iron-on:
- Nylon (can melt or warp under heat)
- Leather (heat doesn’t bond properly, and can damage the leather)
- Waterproof or technical fabrics (the coating blocks the adhesive)
Good for sew-on:
- Genuinely anything with enough thickness to hold a stitch — leather, denim, canvas, wool, technical fabrics, mesh
If your garment is stretchy, waterproof, or heat-sensitive, don’t fight it — go sew-on. Trying to iron a patch onto a running jacket or a leather vest is the number one way to end up disappointed.
Best choice by use case
Jackets you wear casually: Iron-on is fine, and honestly the more popular choice — quick to apply and easy to reposition if you get the placement slightly wrong the first time.
Uniforms and workwear: Sew-on, every time. These get washed constantly and need to survive years, not months.
Motorcycle vests and leather: Sew-on. Leather doesn’t take heat-activated adhesive well, and a vest patch is meant to be permanent.
Backpacks and bags: Sew-on is safer here too — bags get thrown around far more than clothing does, and there’s usually a canvas or nylon base that heat doesn’t bond to reliably.
Kids’ clothing: Iron-on, mainly for the speed — just be aware they’ll need replacing sooner as the child (and the garment) outgrows normal wash cycles.
Denim jackets and jeans: Either works well, since denim is one of the few fabrics that holds up equally to both. Sew-on if it’s a jacket you plan to keep for years.
Can you switch one to the other?
Sort of, in one direction. You can sew over an iron-on patch for extra security — plenty of people do this on jackets they want to keep long-term, stitching around the edge after ironing it on for a belt-and-braces approach.
Going the other way doesn’t really work. You can’t turn a sew-on patch into an iron-on one without adding your own adhesive backing separately, which is a fiddly job and rarely worth the effort compared to just picking up a needle.
Mistakes people make
- Ironing over a seam or zip. The heat won’t transfer evenly and the patch won’t bond properly along that edge.
- Not using a pressing cloth. Direct iron contact can scorch the patch or the fabric underneath — always put a thin cloth between the iron and the patch.
- Rushing the timing. Most patches uk need 20–30 seconds of firm, even pressure. Ten seconds “just to check” isn’t enough, and lifting the iron too early is the single biggest reason iron-on custom patches fail within the first few washes.
- Choosing iron-on for leather or nylon. Covered above, but it’s worth repeating — this is the most common mismatch we see.
- Washing too soon. Give an iron-on patch at least 24 hours before its first wash, so the adhesive has fully set.
Our verdict
Pick iron-on when speed matters more than permanence — a one-off event, a gift, a casual jacket you’re not precious about. Pick sew-on when the patch needs to survive years of wear, sit on a fabric heat doesn’t bond well with, or represent something that genuinely shouldn’t come off, like a club vest or a uniform badge.
If you’re still not sure, tell us what the patch is going onto and how it’ll be used — we’ll tell you honestly which backing makes sense, even if that means talking you out of the more expensive option.
FAQs
Do iron-on patches really stay on? Yes, when applied correctly with the right heat and timing, on the right fabric. Most failures come down to rushed application, not a faulty patch.
Can I iron on a patch to leather? No — leather doesn’t bond reliably with heat-activated adhesive, and the heat can damage the leather itself. Go sew-on instead.
Is sew-on more expensive than iron-on? Slightly, mainly because of the extra labour involved in stitching each one, but the difference is usually small compared to the total cost of the patch itself.
Can I sew on top of an iron-on patch for extra hold? Yes, and it’s a common trick for people who want the quick application of iron-on with the extra security of stitching.
What if my iron-on patch starts peeling at the edge? Re-iron it with a pressing cloth on top, using firm pressure for another 20–30 seconds. If it keeps lifting in the same spot, a few hand stitches around that edge will usually fix it for good.