
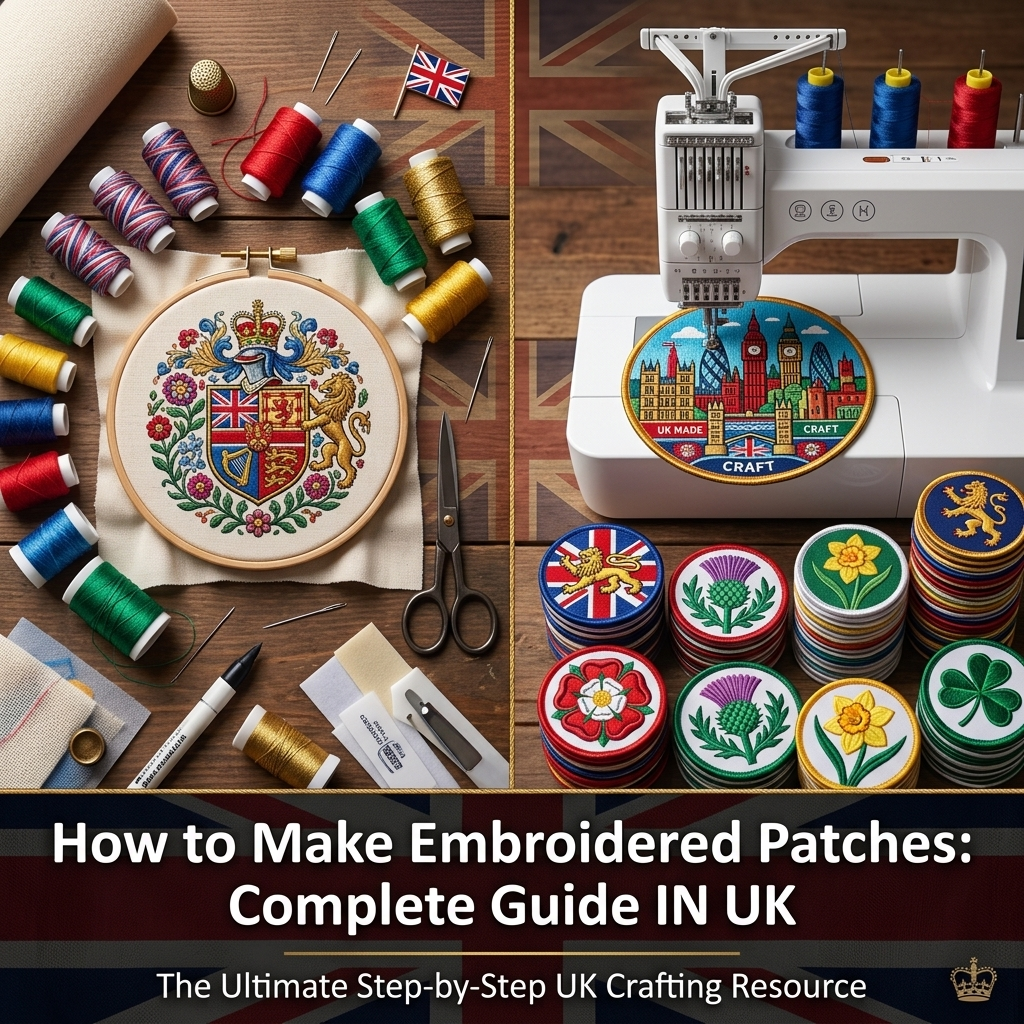
Making an embroidered patch is more than stitching a picture onto a scrap of fabric. The design, thread, backing and finishing all shape how the final patch looks and how long it lasts. If you’re wondering how to make embroidered patches from scratch, the process runs through several stages that build on each other, from the first sketch through to fixing the finished patch onto clothing.
How to Make Embroidery Patches Step by Step
Quick Answer
To make an embroidered patch, start with artwork simplified for stitching, then choose a fabric such as twill and thread colours to match. The design is digitised into a stitch file, embroidered on a machine, trimmed to shape and finished with a satin stitch border. From there, it can be sewn directly onto clothing or fitted with an iron-on backing so it can be applied with heat instead.
Table of Contents
- What You Need to Make Embroidered Patches
- How to Make Embroidery Patches Step by Step
- How to Make Iron On Patches
- How to Iron On Patches
- How to Iron On Embroidered Patches
- How to Apply Iron On Patches
- How Do Iron On Patches Work?
- How to Make Iron On Embroidered Patches
- How to Make a Clothing Patch
- Iron On vs Sew On Embroidered Patches
- When Should You Buy Custom Embroidered Patches?
- Frequently Asked Questions
What You Need to Make Embroidered Patches
You don’t need a huge workshop to get started, but a few things are essential:
- A piece of stable fabric, usually twill, to stitch onto
- Stabiliser to stop the fabric puckering while it’s being stitched
- Embroidery thread in your chosen colours
- An embroidery machine (a home machine is fine for small runs; commercial machines suit larger batches)
- Digitising software, or access to a digitiser who can turn your design into a stitch file
- Sharp scissors or a heat-cutting tool for trimming
- Iron-on backing, if the patch is going to be applied with heat rather than sewn on
Twill holds its shape well under dense stitching, whereas cheaper fabrics can warp in the machine, which is why stabiliser matters just as much as the thread itself.
How to Make Embroidery Patches Step by Step
Everything starts with the artwork. Whether it’s sketched by hand, based on a logo, or adapted from an existing image, it needs to be reasonably simple, since fine detail and small text often get lost once translated into stitches.
Once the design is settled, you choose the fabric it will sit on, usually twill, and the thread colours, picking shades that hold up visually rather than blending in.
Next comes digitisation: the flat image is converted into a stitch file telling the machine where to place each stitch, in what direction, and with which thread. Dense fill stitches suit solid areas, while outline or satin stitches work better for borders and fine lines.
The machine is then set up: hooping the fabric with stabiliser underneath, loading the thread colours, and running a test stitch on a new design before stitching the full pattern layer by layer.
After stitching, check closely for loose threads, gaps, or puckering, since small issues are easier to fix now than after the patch is cut. Trimming removes the excess fabric, and a satin stitch border is usually added to give the edge a clean finish and stop fraying. Once the border is stitched, you’re left with a finished embroidered patch, ready to be sewn on directly or converted into an iron-on version.
How to Make Iron On Patches
Making an embroidered patch and applying one are two different processes, even though they often get lumped together. The embroidery stage above creates the design; adding an iron-on backing is a separate step that lets the finished patch be attached with heat instead of a needle and thread.
The backing is usually a heat-activated adhesive film applied to the reverse side after embroidery and trimming. At room temperature it sits flat; once heated, it softens and bonds to the fabric underneath, gripping the weave as it cools. A heavier or more densely stitched patch generally needs a stronger adhesive to stay put through regular washing.
Sew-on backing works differently: it’s simply a stiffer layer left on the back to give the patch body while it’s stitched on, with no adhesive involved, so its hold depends entirely on the thread used.
How to Iron On Patches
Applying an iron-on patch is straightforward once you know the order of steps, though it’s easy to rush and end up with a patch that lifts at the corners.
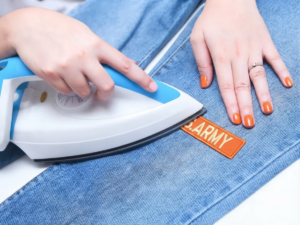
First, check the patch actually has iron-on backing fitted; a plain sew-on patch won’t bond under heat. Then check the garment: cotton and cotton-blend fabrics generally take heat well, while synthetic fabrics can scorch or melt, so it’s worth checking the care label. Position the patch, pinning it lightly first if you’re unsure of placement.
Lay a pressing cloth over the patch, then apply firm, even heat, pressing rather than sliding the iron back and forth, since movement can shift the patch before the adhesive sets. How long you press and how much heat you use depends on the fabric and backing, so follow the backing manufacturer’s instructions rather than guessing.
Let the patch cool fully before handling the garment, since the bond is often weakest while warm. Once cooled, run a finger around the edges to check it’s bonded evenly. If the garment is delicate, heavily textured, or washed often, sewing may end up being the more reliable option anyway.
How to Iron On Embroidered Patches
Embroidered patches behave slightly differently to flat printed or vinyl iron-on custom patches, mainly because of their raised, textured surface, so heat and pressure need to reach the adhesive underneath without flattening or scorching the thread on top.
A slightly firmer press than you’d use on a flat patch usually helps, and a slightly damp pressing cloth, if the backing allows it, can help heat transfer more evenly. Because embroidered patches often have thicker edges from the satin stitch border, it’s worth pressing right along that border too, so the adhesive bonds fully underneath rather than just in the centre.
How to Apply Iron On Patches
The core steps stay the same as above, but pressure
matters as much as heat. A hot iron held loosely won’t bond the adhesive properly; it’s the combination of sustained pressure and heat that does the work. Once cooled, gently tug at the edges, and if any part lifts, place the pressing cloth back down and reapply heat to that spot.
How Do Iron On Patches Work?
The adhesive backing is a solid film that melts under heat and soaks slightly into the weave of both the patch and the garment beneath it. When the heat is removed, the adhesive cools and hardens again, locking the two layers together, which is why cooling time matters as much as heating time.
How to Make Iron On Embroidered Patches
Bringing the process together, making an iron-on embroidered patch means combining accurate embroidery with a well-matched backing. The design has to be digitised and stitched cleanly, trimmed and bordered, then finished with an adhesive suited to its size and weight. A small, lightweight patch with fine detail can generally use a lighter backing, while a large or densely stitched patch needs something stronger to stop it peeling away after a few washes.
How to Make a Clothing Patch
Patches end up on all sorts of clothing, and the fabric affects a few decisions. Jackets and workwear can usually take a firmly stitched or heavily backed patch without trouble. Shirts and lighter garments often suit a lower-profile patch so it doesn’t feel stiff. Uniforms and club clothing, especially items washed often, tend to hold up better sewn rather than ironed on. Bags and heavier accessories are more forgiving and can generally take either method.
Iron On vs Sew On Embroidered Patches
Iron-on patches are quick, need no sewing skill, and suit plenty of everyday uses, like a gift or a jacket you want to personalise fast.
Sew-on patches take more effort but hold up better under stress. Frequent washing, workwear that gets pulled about, or fabrics that don’t take heat well are all situations where sewing beats relying on adhesive, and stitching allows a patch to be removed and reattached without leaving residue behind.
Neither option is always better; it comes down to the garment, how it’s worn, and how often it’s washed.
When Should You Buy Custom Embroidered Patches?
Making patches at home suits small, personal projects: a one-off design, a gift, or a small batch for friends. Once requirements grow, professionally produced custom embroidered patches often make more sense. Businesses and clothing brands need consistent quality across every unit, schools, clubs and sports teams usually need bulk quantities that all match precisely, and uniforms call for durable stitching and reliable backing that home equipment isn’t always set up to deliver. Detailed logos often need commercial-grade digitising too, to keep fine elements sharp at a small size.
For a handful of personalised embroidered patches, a home setup works fine. For larger quantities or more demanding designs, a specialist embroidery company generally saves time and gives a more consistent result.
Frequently Asked Questions
Can you make embroidered patches at home? Yes. With an embroidery machine, digitising software or a digitiser, and basic materials like twill and stabiliser, small batches can be made at home without much trouble.
How do you make an embroidered patch iron on? Once the patch is embroidered, trimmed and bordered, a heat-activated adhesive backing is applied to the reverse side, allowing it to be ironed on rather than sewn.
Can all embroidered patches be ironed on? Not automatically. A patch only works as an iron-on if adhesive backing was added during finishing; without it, it needs to be sewn on instead.
Are iron-on or sew-on patches better? It depends on use. Iron-on patches are quicker for light, everyday use, while sew-on patches generally cope better with frequent washing and heavier wear.
How do you put an embroidered patch on clothes? Iron-on patches are applied with heat and pressure through a pressing cloth, then left to cool. Sew-on patches are attached by stitching around the edge, usually following the existing border.
How do you make custom embroidered patches? The process is the same as any embroidered patch, just with the design, size, colours or backing chosen to match a specific person, team or brand.
How long do iron-on patches last? This varies with the fabric, application and wash frequency. A properly applied patch on suitable fabric can last through regular wear, though heavy use may eventually call for a touch-up or a switch to sewing.
Conclusion
Making embroidered patches, from the first sketch through digitising, stitching, trimming and bordering, is a process where each stage depends on the one before it. Whether the finished patch is sewn on or fitted with an iron-on backing, the same principles apply: solid preparation, careful stitching, and a finish suited to how the patch will actually be worn. Get those stages right, and how to make embroidered patches stops being a mystery and becomes a straightforward craft to repeat.