
Nowadays, wearing clothes with customization is a big deal for everyone. And thats where the patches truly outshine other accessories as they add a personal touch to everything without breaking the bank. Not just for clothes, but other things such as bags, Stanley cups covers, your baseball hat, denim jeans, and so on are beautiful examples. If you are here to try this trend for yourself, then keep on reading to find out the easiest way to apply patches to different things and boost the overall personality.
Types of patches:
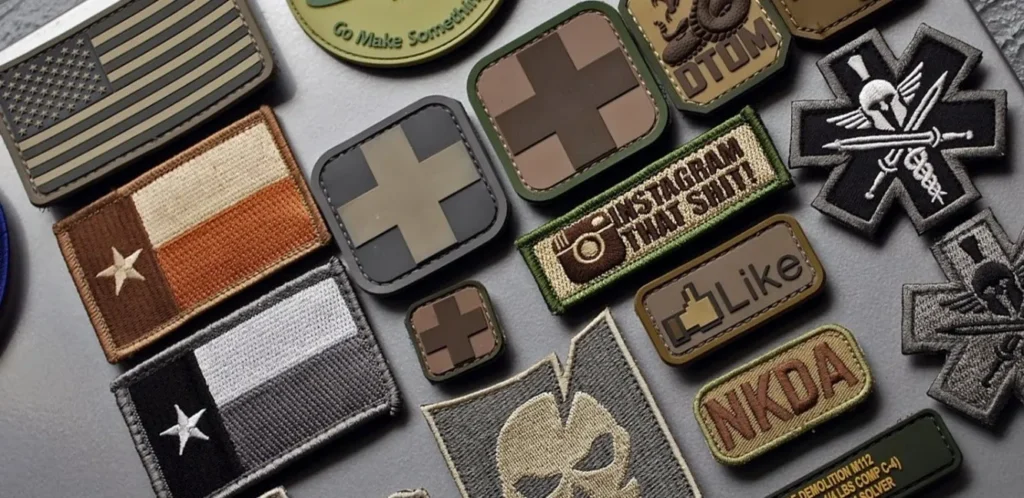
First of all, there are so many types of patches, and people choose them according to their needs and purpose. Let’s talk about some types before we elaborate on the attachment options.
- Embroidered patches:
Embroidery is one of the primary methods to make the patches and still appeals to many people for upgrading their uniforms, showcasing their achievements and interests at reasonable prices.
- Woven patches:
Woven patches are intricately woven and capture the attention without much effort, they always remind the fine knitting done by our grannies back in the days.
- Leather patches:
These patches are made using premium leather to show off the luxe side of the brand. They are slightly expensive due to the quality of leather, but look incredibly amazing when put over the bags, suitcases, and other stuff.
- PVC patches:
For durability and outdoor activity, nothing can beat the excellence of PVC patches. These are the most in demand for sports gear and tourists. The PVC patches can easily encounter weather elements during travel.
Different types of backing options:
For attaching these beautiful crests over your garments, bags, and other stuff, we use different types of backings such as:
1: sew-on method
2. Iron-on method.
3. Adhesive backing
4. Velcro (hook and loop)
Each method is useful and provides a strong grip to fabric; however, velcro patches are more functional, valuable, durable, and time-saving due to their easy application and removal at any time. If you want to stay on top of the trends and have ordered multiple patches, consider asking for the velcro fasteners because they allow you to get creative styling in just a few seconds. With the hook part attached to the patch already, all you have to do is use the adhesive or stitch the loop part over the spot you would like to see your patch on.
Why are they called velcro patches?
Velcro patches are the same patches like woven, embroidery, leather, or PVC patches; you can add your customizations and logos as per the requirements. The only difference that made velcro patches a lot more useful and popular is the hook-and-loop fastener attached to the back of the patches. They provide a firm clasp over the fabric and even with excessive movement like running, exercise, or any sports, can not pluck them off their grasp.
Now that you are fully aware of what they are and how they look, let’s move on to tell you the process of making velcro patches.
How to make velcro patches?
Making a velcro patch has become so easy, and everyone can do it now.. You dont need to be an expert anymore to create a velcro patch. All you need to do is collect the items listed below to start making the patch.
Embroidery Machine
Velcro (Hook and Loop Fastener)
Stabilizers
Fabric
Embroidery Threads
Scissors or a Cutter
Cutting Mat
Embroidery Needles
Iron
After collecting these must-haves, you can now proceed to the step-by-step guide to make the velcro patches.
Create the design:
If you have any sketch in mind for your patch, first digitize it by using a special embroidery software, which can be costly, so it’s better to get a mock-up from someone for affordable and quality work. We at PVC patches USA provide you digitized first mock-up within 24 hours and let you make the changes until it becomes what you like. This process will save you time and money.
Now that you have secured the design, follow the second step.
Get the fabric and stabilizer ready:
Trim the fabric and stabilizer according to the size of your design. The wash-away or tear-away stabilizer is best for easy removal after sewing. Now, take this stabilizer and place it in the embroidery hoop to give your fabric a taut and strong base.
Upload your design:
Now, upload your design to the embroidery machine and let it start stitching where the fabric is placed, and see if it gives the proper outlines.
Fabric placement:
Now, align your fabric perfectly over the stitch part and see if it sits well with the outlines. If yes, then use a temporary 505 adhesive spray to keep it in the right position.
Time to set the Velcro Backing
Cut out the right shape of Velcro according to the size of your patch. Also, there are two ways to attach the velcro one is peel off the backing and stick it to the back of your patch and then get it stitched this way you can save time because the patch or velcro would not move separately and the second type is to start stitching the velcro to the patch directly.
Now, how to do the Stitching?
Secure the Velcro and fabric together by running a tack-down stitch across them. For extra strength, this stitch should be doubled around.
Final touch-ups:
After removing the patch from the hoop, see the corners and excessive threads or stabilizers to trim it with scissors; however, if it needs a little more finishing touch, then scorch the rims, but be careful while doing it, as it can burn any threads.
Scrutiny:
Check your patch one last time for any threads or imperfections, then you’re good to go!
Benefits of the velcro patches:
The velcro patches are so functional and flexible to use, with their easy-to-fasten hook and loop backing. So it can be placed anywhere on your jacket’s sleeve, on your trucker hat, you name it. Also the velcro patches do not fall off while running or doing any outdoor activity. One of the best parts about the velcro patch is the firm grasp and easy put-on and off. They are not your run-of-the-mill patches,, which require stitching or a glue which dries off in just a few days, causing the patch to come off the garment. The velcro patches can be washed in the machine too if left attached to the garment.
The vast application of Velcro patches:
Velcro patches can be attached anywhere easily such as on Uniforms and Workwear to attach the logos or names for unity and and team spirit, nowadyas people love to customize their clothing items when working out a DIY fashion,, so the velcro patches work best over the jackets, bags, and hats with unique designs.
Moreover, the custom velcro patches can be utilized to add fun and creativity to the kids’ items and gifts such as the velcro patches backpacks. Those who have a small business or the corporate sector can personalize these patches accordingly for marketing and promotion purposes.
Besides this, the velcro patches are appropriate for law enforcement agencies, given the nature of their work, they have sturdy grips and can withstand any circumstance during operations. You can also go through our collection to get a better idea. We have military velcro patches with standard quality and affordable prices, along with full customization options for the velcro name patches.
On the other hand, you can design the velcro patches to keep them as souvenirs of your cherished moments and milestones. They are suitable for events and celebrations too. From office and home decor to the velcro patch for dog harness, it delivers the best results on every ground and displays your interest and enthusiasm flawlessly.
Wrap up!
Thanks for reading this far! We have tried to make this procedure easiest and comprehensible to those who are going to make th velcro patches for the first time. So let’s not wait and try it now, send us your design so we can provide you with perfect digitized art for the heads up!